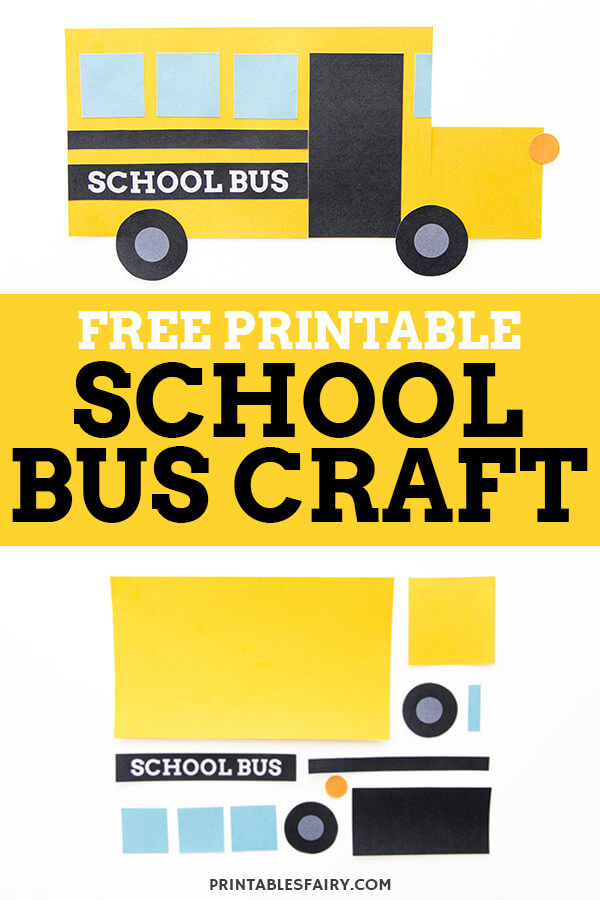
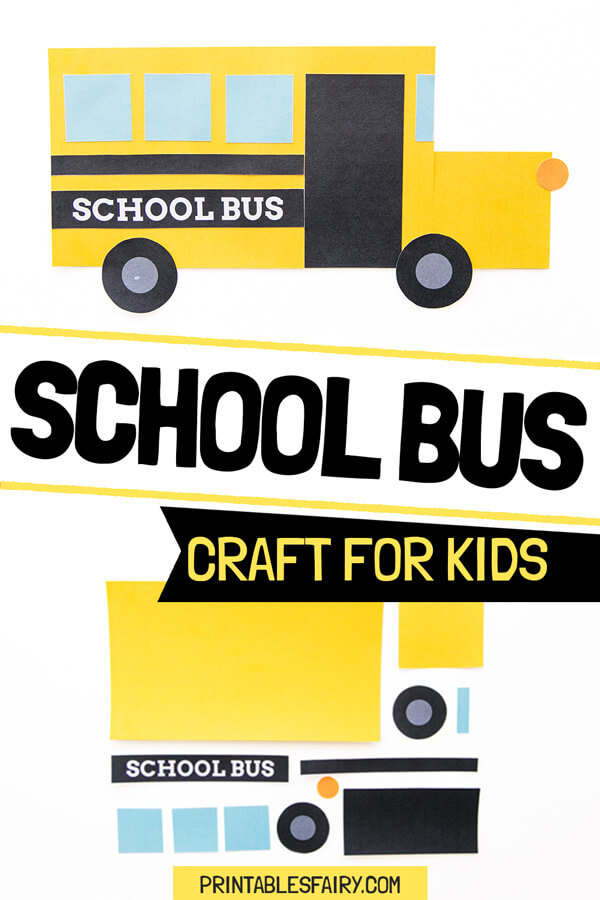
If you have a little one that is scared of their first school bus ride, you might be looking for ways to make that fear go away.
Of course, you must start with talking to your child, explaining what will happen, and reassuring them that they will be fine.
But you can also try to turn the experience into something to be excited about with a simple craft like this!
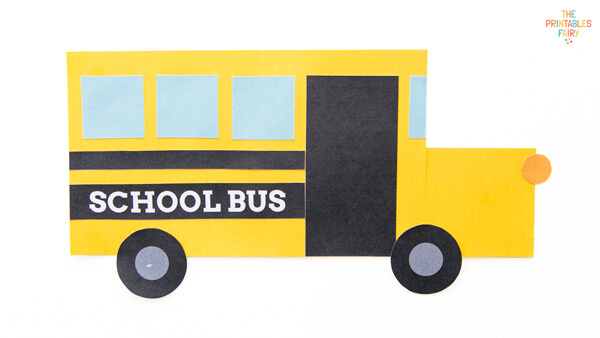
I designed this School Bus Shape Craft for toddlers and preschoolers who are just learning the shapes.
It is perfect to talk about their first school bus ride while reinforcing shape knowledge, working on scissor skills, and improving fine motor skills.
You can use this craft at home or school and include it in your transportation unit or shapes lessons as well.
To make it even easier for you, I included a free printable template that can be downloaded at the end of this post. This way, all you have to do is print and craft!
Simple, right?
Let me show you how to make this cute school bus craft with your kids.
Materials
To make this easy shape school bus craft, you’ll need:
- Printable School Bus Template (get it at the end of this post)
- Printer
- White paper or cardstock
- Scissors
- Glue Stick
How to Make a Shape School Bus Card
- Start by downloading and printing the template on white paper or cardstock.
I recommend using cardstock, especially when working with young kids, as it is sturdier and makes it easier to manipulate the pieces.
- Cut the shapes and take a moment to talk with your kids about them. Identify the shapes, colors, and guess which part of the bus they are.
* You can laminate the shapes and use them as a puzzle, or get a rectangular piece of cardstock to glue all the pieces on top (and use it as a card).
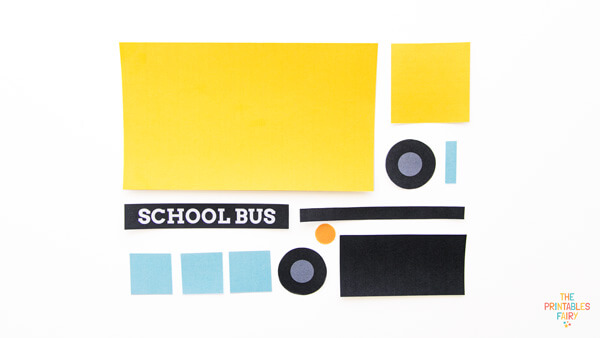
- Now it’s time to put your bus together. You can let your kids assemble it on their own or help them pick what shapes come next. I suggest going in the following order:
Start with the big yellow rectangle.
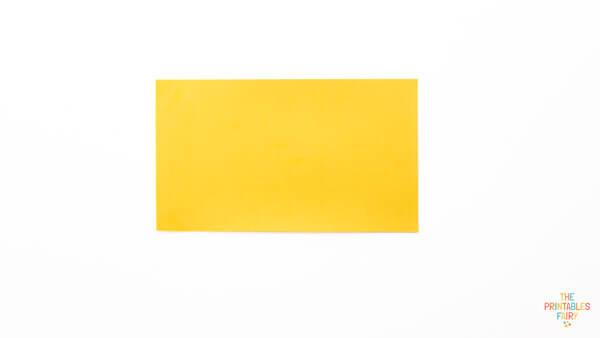
- Then, add the yellow square to the front.
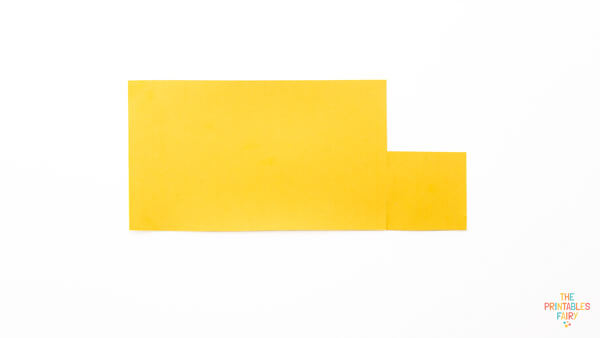
- Place the School Bus sign.
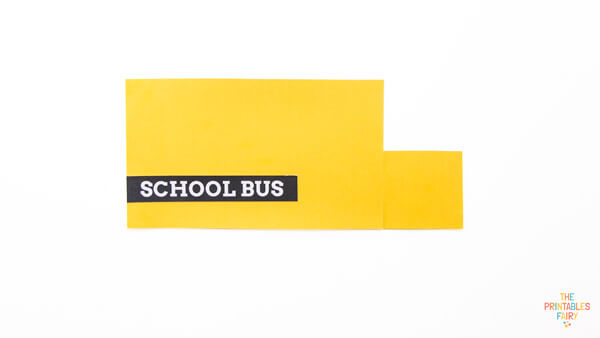
- Add the door right next to it.
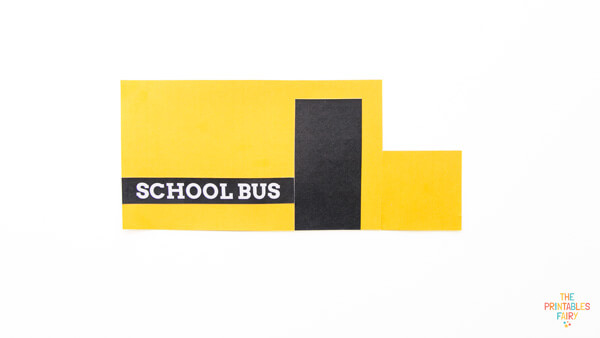
- Glue the three blue squares where the windows should be.
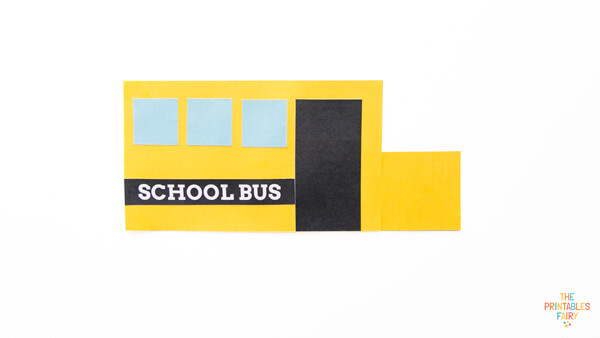
- Put the black rectangle right in between the windows and the sign.
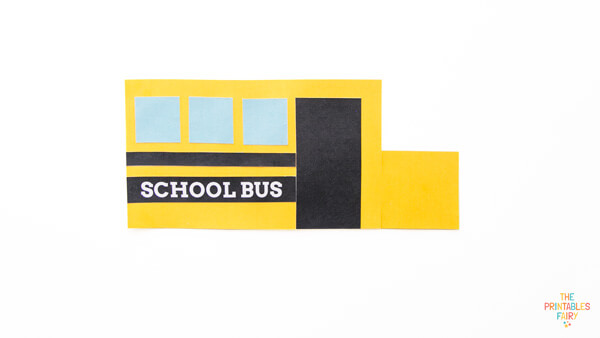
- Lay the blue rectangle vertically on the front of the bus (for the driver to see!).
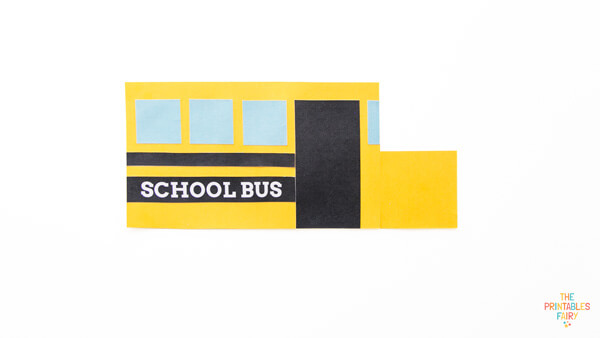
- Add the two circles at the bottom of the bus.
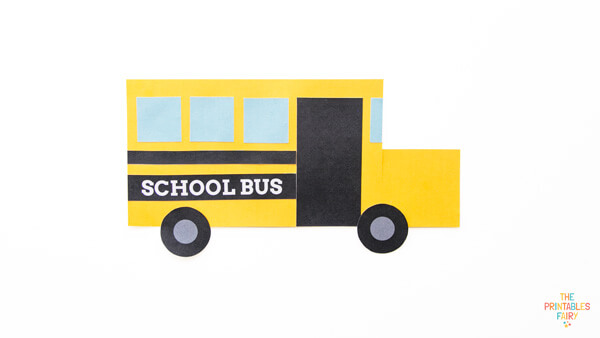
- Finally, glue the orange circle at the front of the bus.
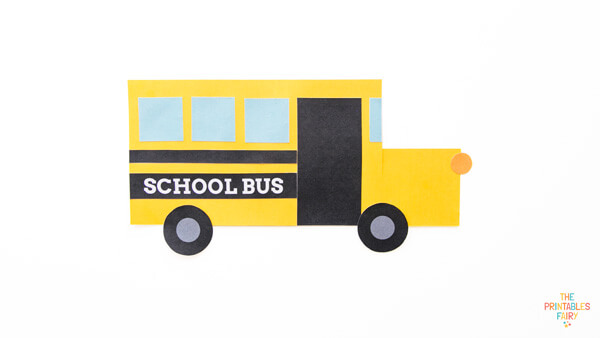
Your school bus shape craft is ready to roll!
If you are using it as a card, don’t forget to include a little drawing or message on the back.
School Bus Craft Template
Ready to make this easy school bus craft with your kids?
Click the link below and download the free printable template!
And if you make this craft, don’t forget to share your pictures with us on Instagram by tagging @theprintablesfairy.
GET THE SCHOOL BUS CRAFT TEMPLATE
*Please remember that these printables are for personal use only. You may not sell or distribute the files. If you want to share them, please link to this post and not directly to the PDF files.
More Back-to-School Activities for Preschoolers
