One of the top reasons we love fall is seeing nature change around us. Just stepping outside and seeing leaves changing colors is magical. And the weather being cool makes it perfect for exploring the outdoors with your kids.
While exploring nature is fun on its own, doing it with a purpose is even better! So, why not collect some colorful leaves and make a suncatcher?
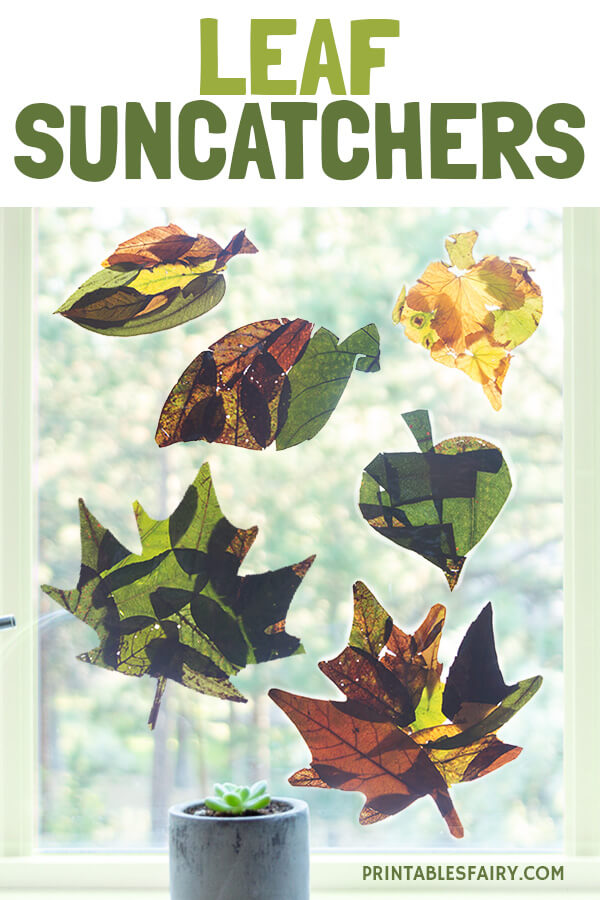
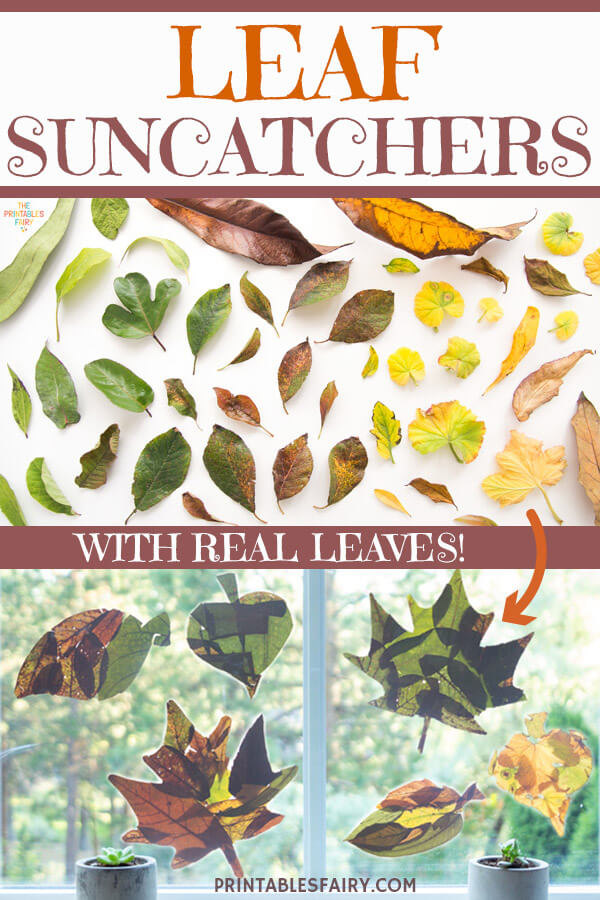
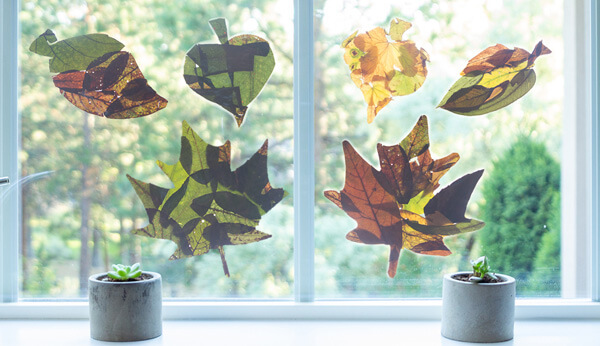
But not any suncatcher, this leaf suncatcher craft has a leaf shape, and it is made of real leaves! Doesn’t it sound exciting?
It requires very few materials, some prepping time, and a lot of leaves. And, as always, I have included a free printable leaf template to make it even easier. You can get it at the end of this post.
This cute fall craft is super easy to make, and kids of all ages can join in the fun. It is a great way to practice scissor skills, hand-eye coordination, and improving manual dexterity. Even toddlers and preschoolers can stick some leaves onto your suncatchers, and you can help them with the rest.
In the end, you will have some beautiful leaf-shaped suncatchers to display on your windows! They are so cute you won’t want to take them off. 🥰
In this post, I’ll guide you step-by-step on how to make your suncatchers and even give you some tips in the end.
Love this idea and want to save it for later? Bookmark this page or pin it now so you can have this handy when you need it!
Materials
- Free printable fall leaves template (get it at the end of this post)*
- Printer
- White paper (lightweight)
- Fresh autumn leaves**
- Clear contact paper
- Scissors
- Tape
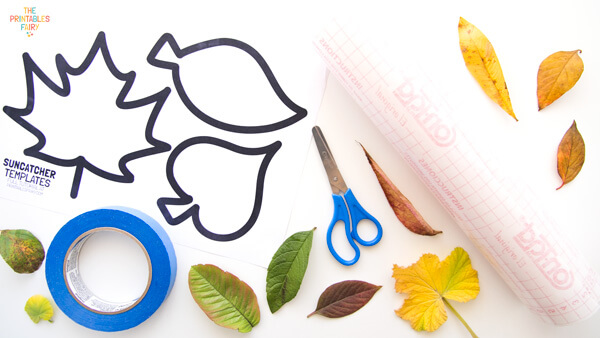
* You can also draw your own leaves if you don’t have a printer available.
** If you don’t feel like using real leaves, you can also make this fall craft with tissue paper, colored paper, colored cardstock, or cellophane.
How to Make Autumn Leaf Suncatchers
Before getting started, head outdoors with your kids and pick up a variety of leaves. Try to find leaves of different sizes, colors, and shapes.
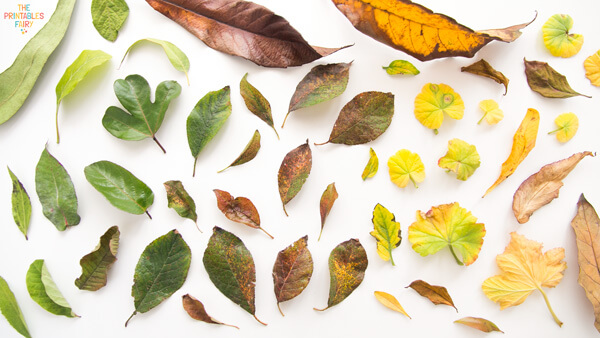
As you can see, we found yellow, brown, and red leaves from plants that were just shedding, and also green leaves from evergreen plants. Take this time to appreciate nature’s diversity and talk about why leaves change color and fall during autumn.
Once you have a bunch of fresh leaves, it’s time to make your suncatchers!
- Download and print the leave suncatcher templates on regular white paper.
- Cut off 2 rectangular pieces of contact paper that are slightly bigger than your template.
Put one rectangle aside and put the other on a flat surface with the non-sticky side up.
- Place the template on top of your rectangle and secure it with tape without covering the outlines.
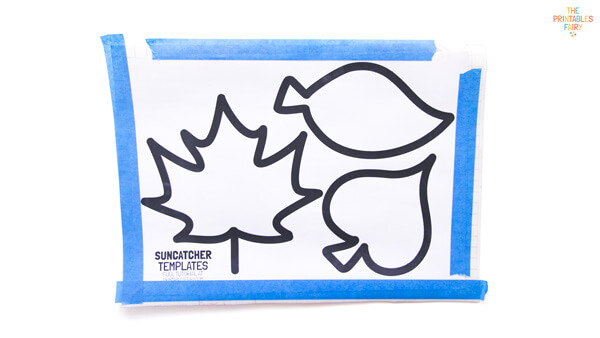
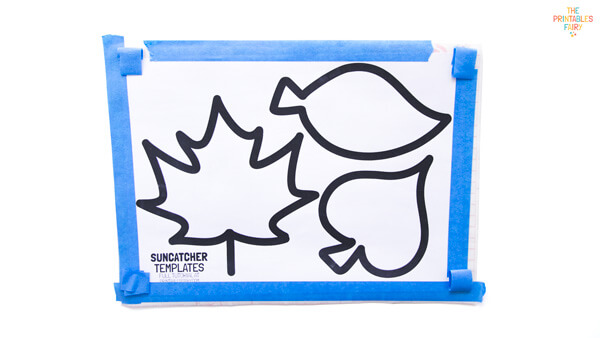
- Contact paper is super sticky and it can be very tricky for kids (and adults) to work with, that’s why I highly recommend adding some tape on the corners.
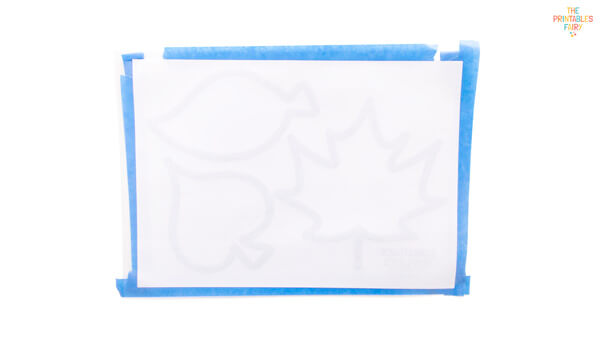
- Flip over your paper and make sure it stays in place for the next steps.
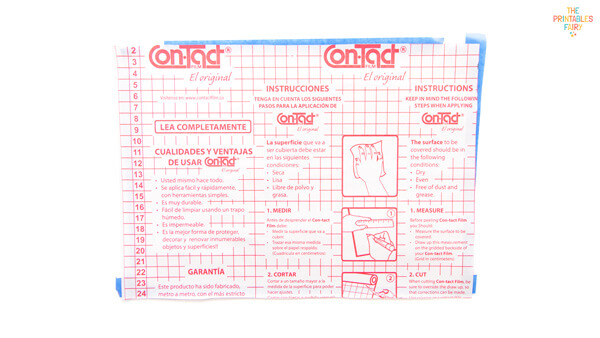
- Remove the contact paper covering to expose the sticky side.
- Let your kids adhere their leaves on their sticky canvas.
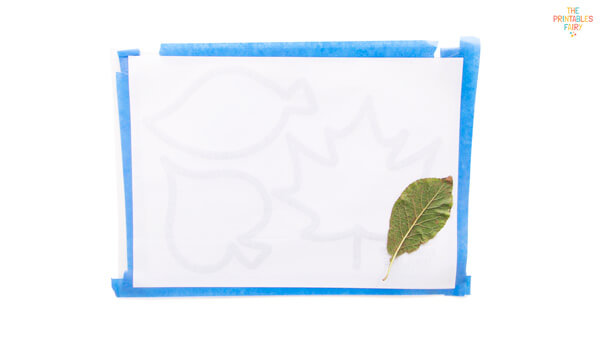
You can let them arrange their leaves however they want as long as they cover the entire outlines (don’t worry if they go outside the lines).
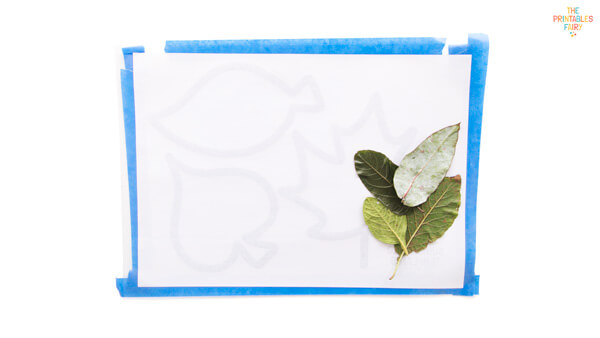
Some leaves might have some thick stems, remove them with scissors before adding them to your suncatchers.
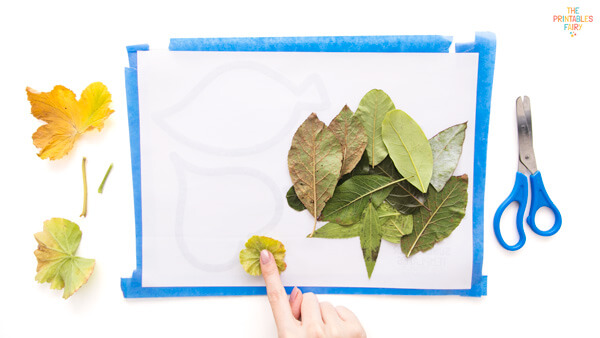
If you spot some thick stems after sticking your leaves, don’t worry. Just cut them off with your scissors.
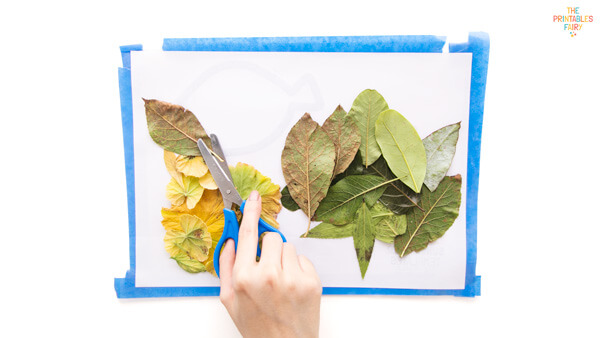
- Once your kids are happy with their leaves placement, it’s time to bring back the other contact paper rectangle we cut out earlier.
Slowly, stick it on top of your leaves and smooth out any bubbles.
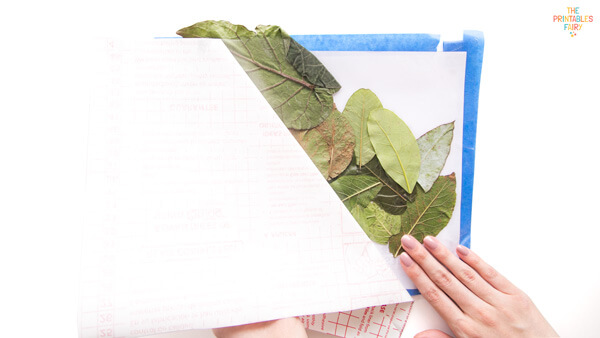
- Detach your suncatchers from your flat surface and flip them over. Then, with scissors, cut out the leaves following the outlines.
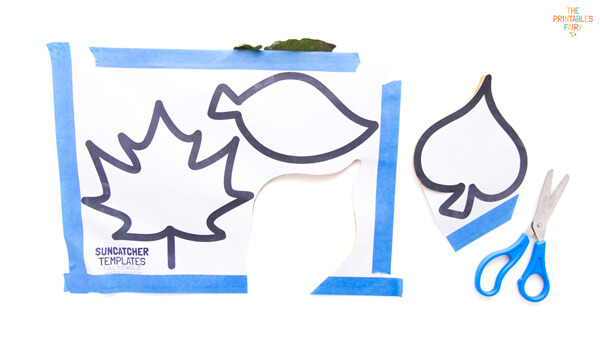
If you are working with young kids, I recommend doing this step for them as it can be a bit hard to cut through the leaves. (I have more recommendations for making this craft with toddlers and preschoolers right below these instructions).
- This is how your fall suncatchers should look like after being cut.
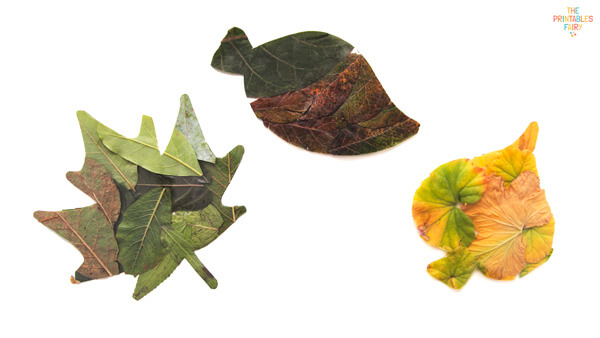
- If your suncatchers are slightly loose, cut 2 pieces of contact paper that are bigger than your leaf. Then, carefully place the suncatcher in between the contact paper like a sandwich and cut off the leaf without getting too close to its border.
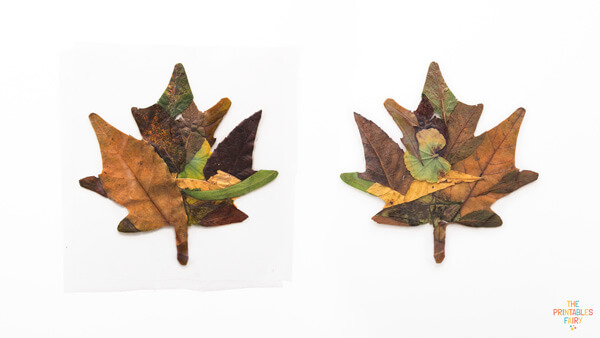
- Stick your suncatcher onto a window with double-sided tape.
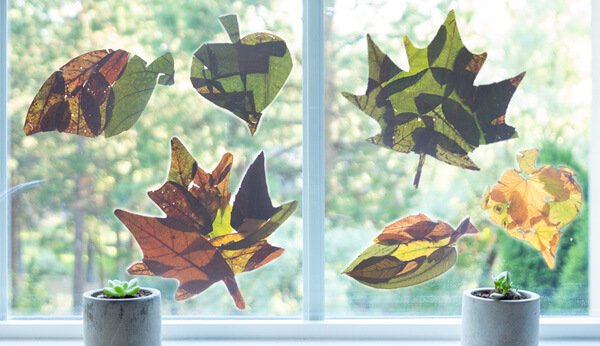
You can also hang up your leaf suncatchers by making a small hole on top with a hole punch and threading some string through it.
Tips To Make Your Fall Leaf Suncatcher
If you think your kids will have trouble cutting through the leaves collage (it can be slightly thick), you can make them stick the leaves inside the black outline.
This is also ideal if you want to skip step 11.
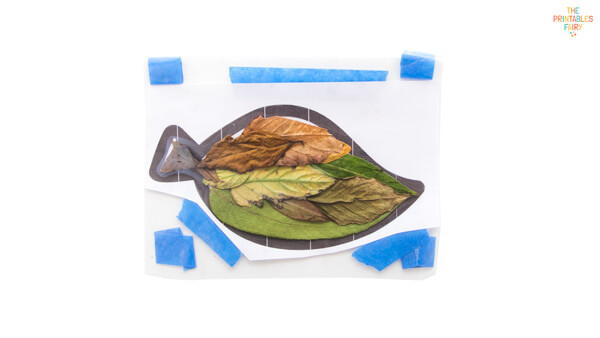
Another tip you can try with your young children is cutting the leaves into smaller pieces to make them easier to handle.
You can cut the leaves for them, let them practice their scissors skills, or even let them tear the leaves apart with their hands.
We use both of these tips to make the following suncatchers. Here they are before and after cutting.
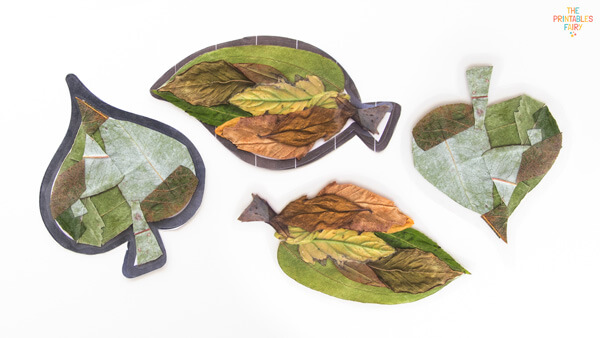
Remember to always leave some empty space around the leaves when cutting to prevent the suncathcer from falling apart.
Autumn Leaf Suncatcher Templates
Ready to make this unbe-leaf-ably fun autumn craft?
I’m sure you will love the way these leaf suncatchers look hanging in your windows!
Just keep in mind that most leaves will only look vibrant and colorful for a couple of days. But don’t let this discourage you from making these suncatchers. It is a fantastic way to see how plants dry and change after they have fallen. Your kids will love it!
If you are ready to make your suncatcher, click the link below to download the template and head outdoors looking for some real leaves to get started.
GET THE LEAF SUNCATCHER TEMPLATES
*Please remember that these printables are for personal use only. You may not sell or distribute the files. If you want to share them, please link to this post and not directly to the PDF files.
More Fall Activities for Toddlers and Preschoolers
Love this