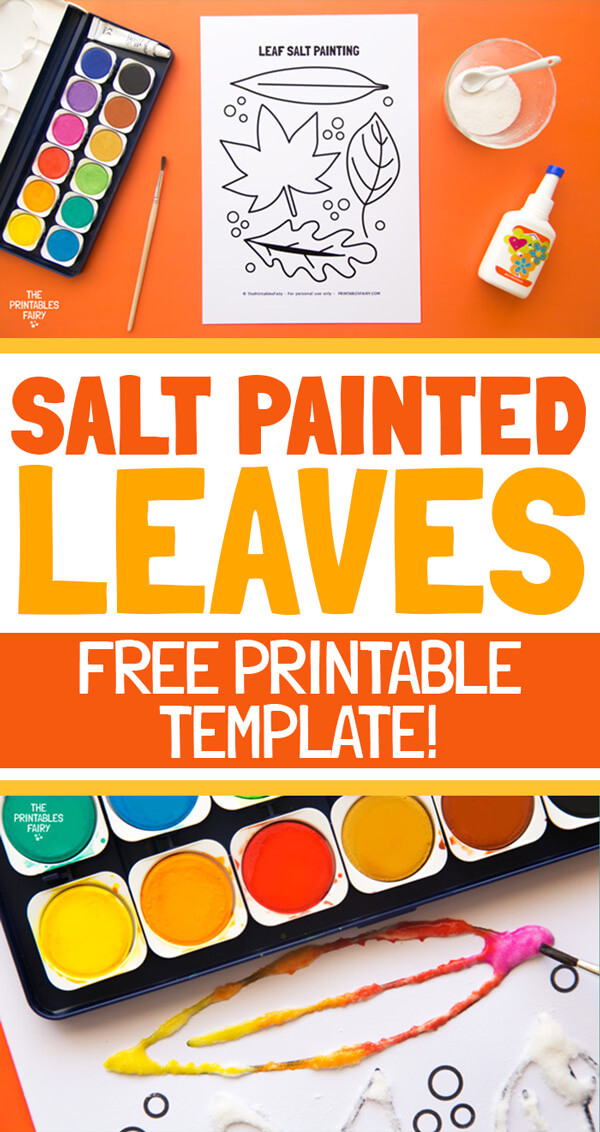
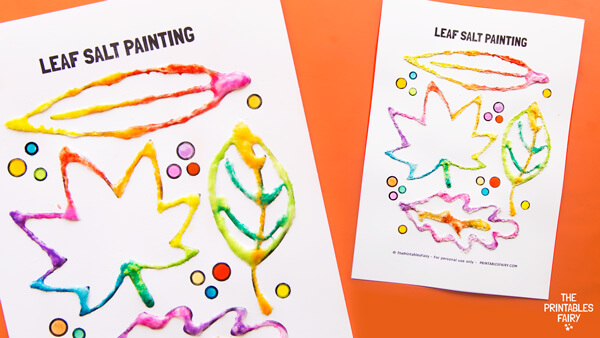
If you want an activity inspired by Autumn’s falling leaves, you will love this leaf salt painting craft!
It is a creative and hands-on activity that combines the magic of glue, salt, and watercolor to create beautifully textured art.
Whether you have a preschooler who’s just learning how to use a glue bottle or an older child who loves intricate painting, this project is perfect for kids of all ages.
You can try it on rainy afternoons, homeschool art projects, or just as a fun weekend activity.
We love it for exploring color mixing and different painting techniques, but kids will also be squeezing the glue bottle and carefully painting with a brush, which will help them develop their fine motor skills.
And the best part is salt painting isn’t just fun; it’s also a mini science experiment!
When you sprinkle salt on glue, it creates a textured surface that absorbs liquid uniquely due to salt’s hygroscopic property, attracting and spreading water along with color.
This capillary action lets the watercolor flow and blend across the salted glue, creating a beautiful effect that kids can see in real-time, making it a fun way to introduce them to concepts like absorption, texture, and color blending.
In this post, I’ll walk you through how to do it and how you can grab a free printable template to make things even easier!
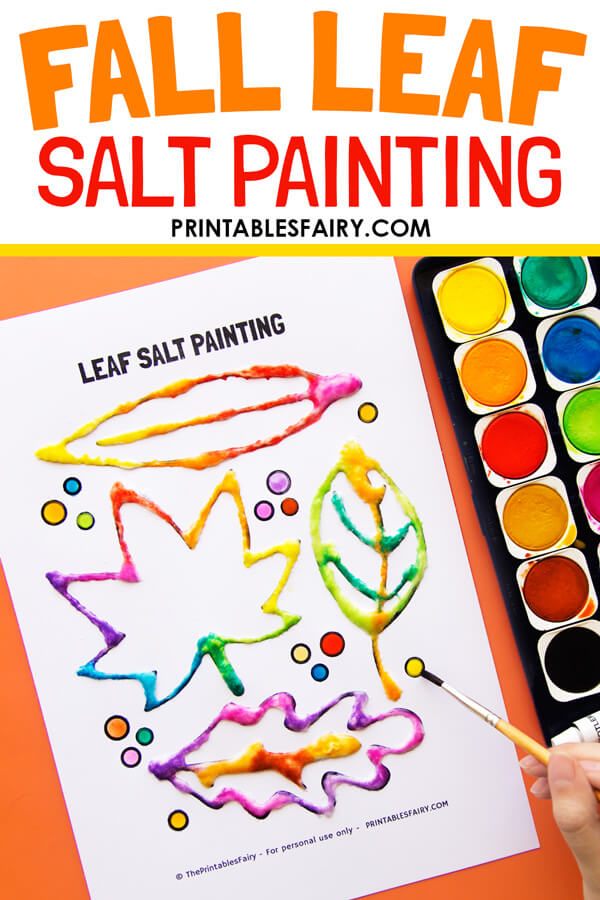
Materials
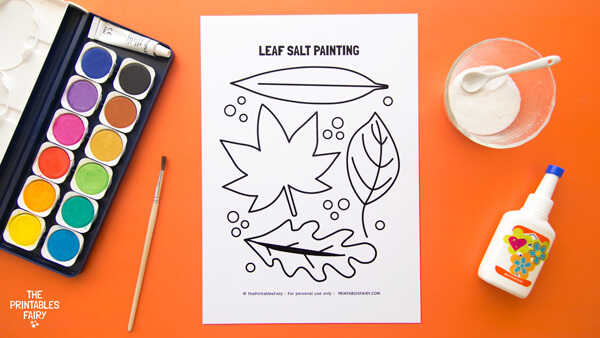
- White Glue (school glue works great)
- Salt (regular table salt is perfect)
- Watercolors (any set will do 😉)
- Paintbrush
- Glass of water
- Tray (for collecting extra salt)
- Cardstock (we used regular cardstock. You can also use watercolor paper)
- Printer
- Printable Leaf Template (Download it at the end of this post!)
That’s it! Just a few items, and you’re ready to dive into the fun!
Leaf Painting With Salt Video Tutorial
Want to see salt painting in action?
Check out our quick video tutorial!
This video is perfect to watch with your kids before they start their own project, making the whole process fun and easy to follow.
How To Make Salt Painted Leaves
Step 1: Print The Leaf Template
The first thing you’ll want to do is print the leaf template I’ve created.
You can download it by clicking the link at the end of this post.
You might also want to put down some newspaper, a plastic bag, or a tablecloth to catch any mess.
Step 2: Apply Glue To The Leaf Outline
Next, it’s time for the glue!
Have your kids carefully squeeze glue along the outline of the leaves on the template.
Make sure they take their time with this step. The more careful they are, the nicer the final result will look. But don’t worry if it’s a bit messy; this is all about having fun!

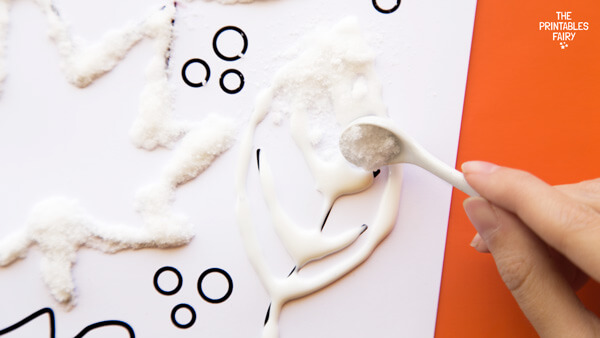
Step 3: Sprinkle Salt Over The Glue
Now, here comes the magical part—salt!
Once the glue is in place, have your kids sprinkle salt all over the glue.
Be generous with it! You want enough salt to cover the glue fully.
Step 4: Shake Off The Excess Salt
After they’ve covered the glue with salt, gently shake off the excess.
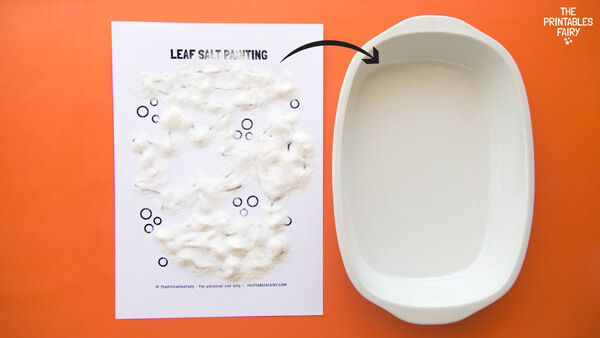
You can do this by lifting the paper and tilting it over a tray. If you don’t have one, you can use a piece of paper.
This step is a bit messy, but that’s what makes it fun, right?
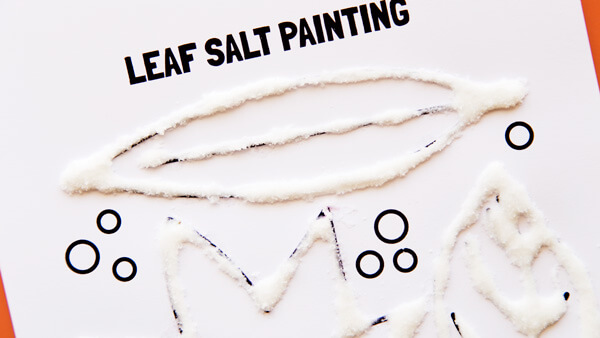
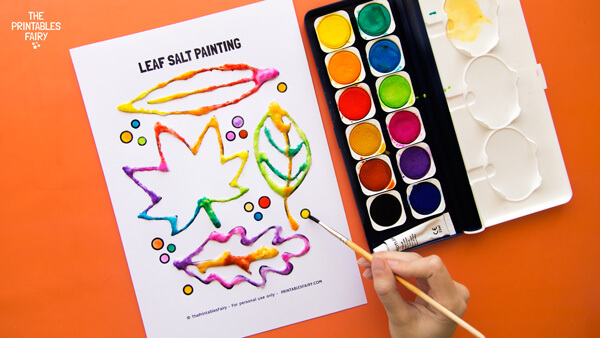
Step 5: Paint The Salted Leaves With Watercolors
Here’s where the creativity really kicks in!
Using your watercolors, have the kids gently paint the salted leaves.
The trick here is to use a wet brush, pick up paint, and dab it onto the salt-covered glue.
You’ll notice that the salt absorbs the color in a really cool way, spreading it out like magic.
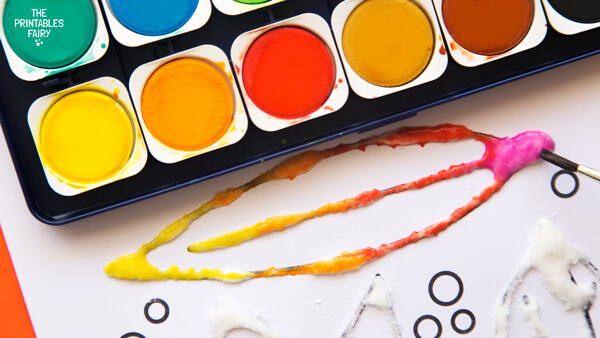
To avoid muddy colors, keep a glass of water nearby and clean the brush when changing colors.
Encourage your kids to experiment with different colors. Fall shades like oranges, reds, and yellows are always a hit, but they can also go wild with blues, purples, or whatever they like!
Step 6: Add Some Details
Finish off the activity by painting the little circles around the leaves.
And that’s it!
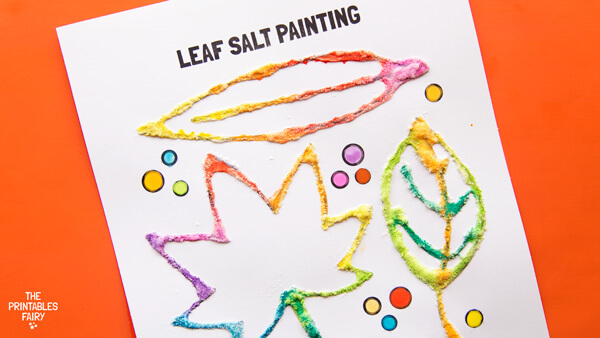
You’ve got yourself some beautiful salt-painted leaves.
Step 7: Let It Dry
Keep in mind that the salt will flake off the paper over time.
If you want to preserve your kids’ masterpieces, you can spray the page with a clear sealant once it’s completely dry.
Tips for Salt Painting
Salt painting is a pretty straightforward process, but a few helpful tips can make sure your kids’ projects turn out even more vibrant and fun:
- Avoid using regular printer paper, as it will soak through and wrinkle with the watercolors.
- Focus on completing Steps 2 and 3, one leaf at a time. Once everything is covered in salt, move to Step 4.
- While it might be tempting to squeeze tons of glue onto the paper, a thin, even line along the leaf outlines will work best. Too much glue can make the salt clump up in places.
- Don’t reuse the salt. While using the excess salt from one leaf to cover another might sound like a good idea, it will get clumpy. Salt will absorb moisture from the glue, and it’s better to dispose of it.
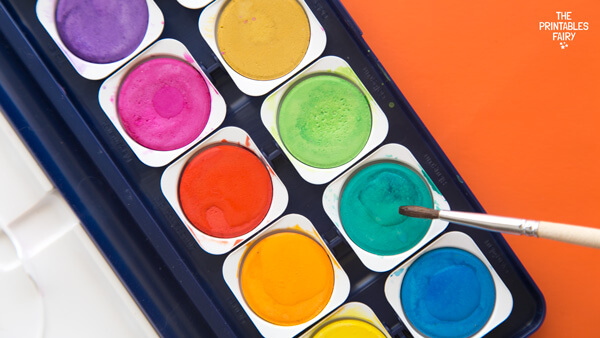
- Remember to activate your watercolor palette. To do so, use your brush, a dropper, or a spray bottle to sprinkle water on top of the dry pans.
- When it’s time to paint, encourage your kids to gently dab the watercolor onto the salted areas instead of brushing.
- To create a smooth blend of colors, take a look at a color wheel and apply the colors in that order.
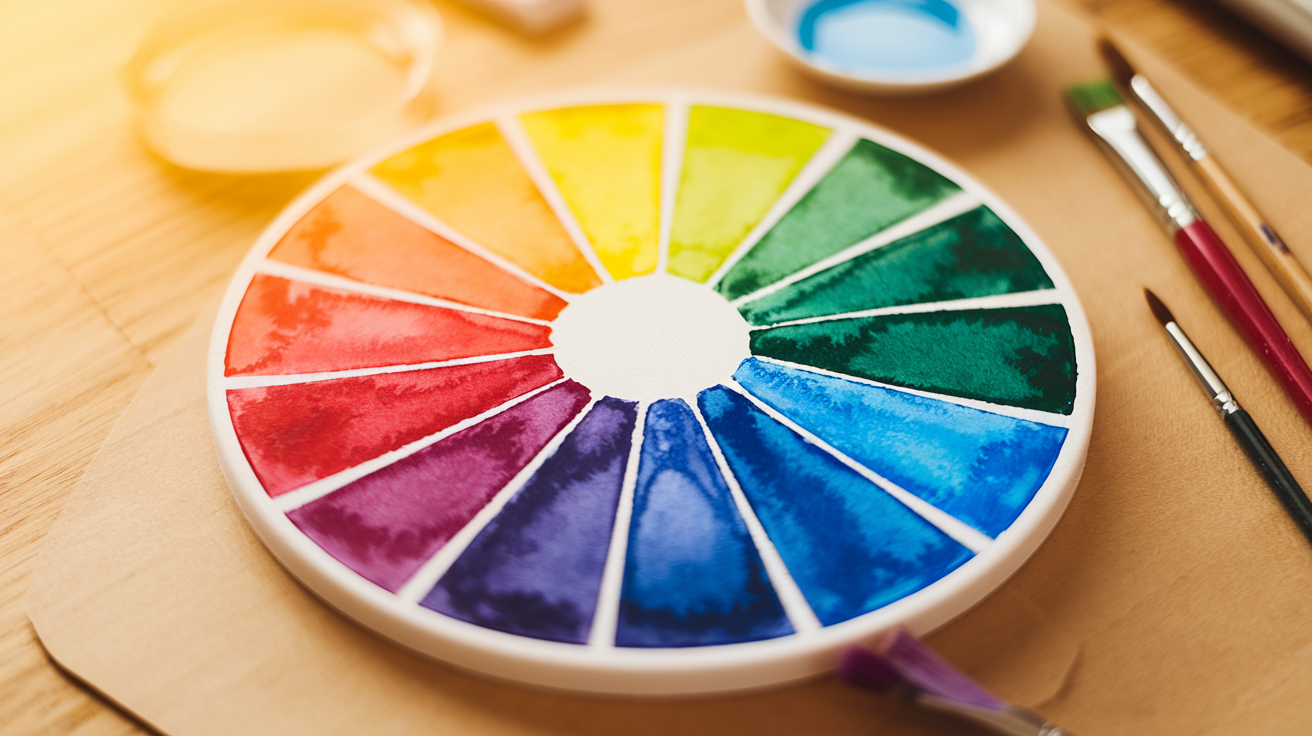
- To prevent muddy colors, avoid mixing or putting complementary colors next to each other (colors that sit opposite of each other on the color wheel).

- Don’t forget to have a jar of water handy and clean your brush whenever you change colors.
Free Printable Leaf Salt Painting Template
As you can see, salt painting is a simple but exciting craft that kids can enjoy, especially during the fall season.
So, what are you waiting for?
Download your free salt-painted leaves template by clicking the link below and start creating with your kids!
Download The Salt Painted Leaves Template
*Please remember that these printables are for personal use only. You may not sell or distribute the files. If you want to share them, please link to this post and not directly to the PDF files.
We love seeing what you and your kids create, so don’t forget to share your salt painted leaves with us in the comments or tag us on social media!
More Fall Activities For Kids
