Since Easter is coming up, I wanted to create a craft that will be suitable for the older kids. So, here it is!
This cute Easter Egg Paper Toy is not only an art project but also a DIY fidget toy that can be enjoyed again and again.
It’s perfect for older kids but can also be crafted by younger children with the help of an adult to cut.
It’s super easy to assemble and a great alternative gift for your Easter basket. Just pair it with some coloring pencils, scissors, and glue.
It can also be a great activity for your Easter party or to play and learn in your classroom if you have an Easter theme.
I can guarantee that this fun paper toy will keep your kids entertained while putting it together.
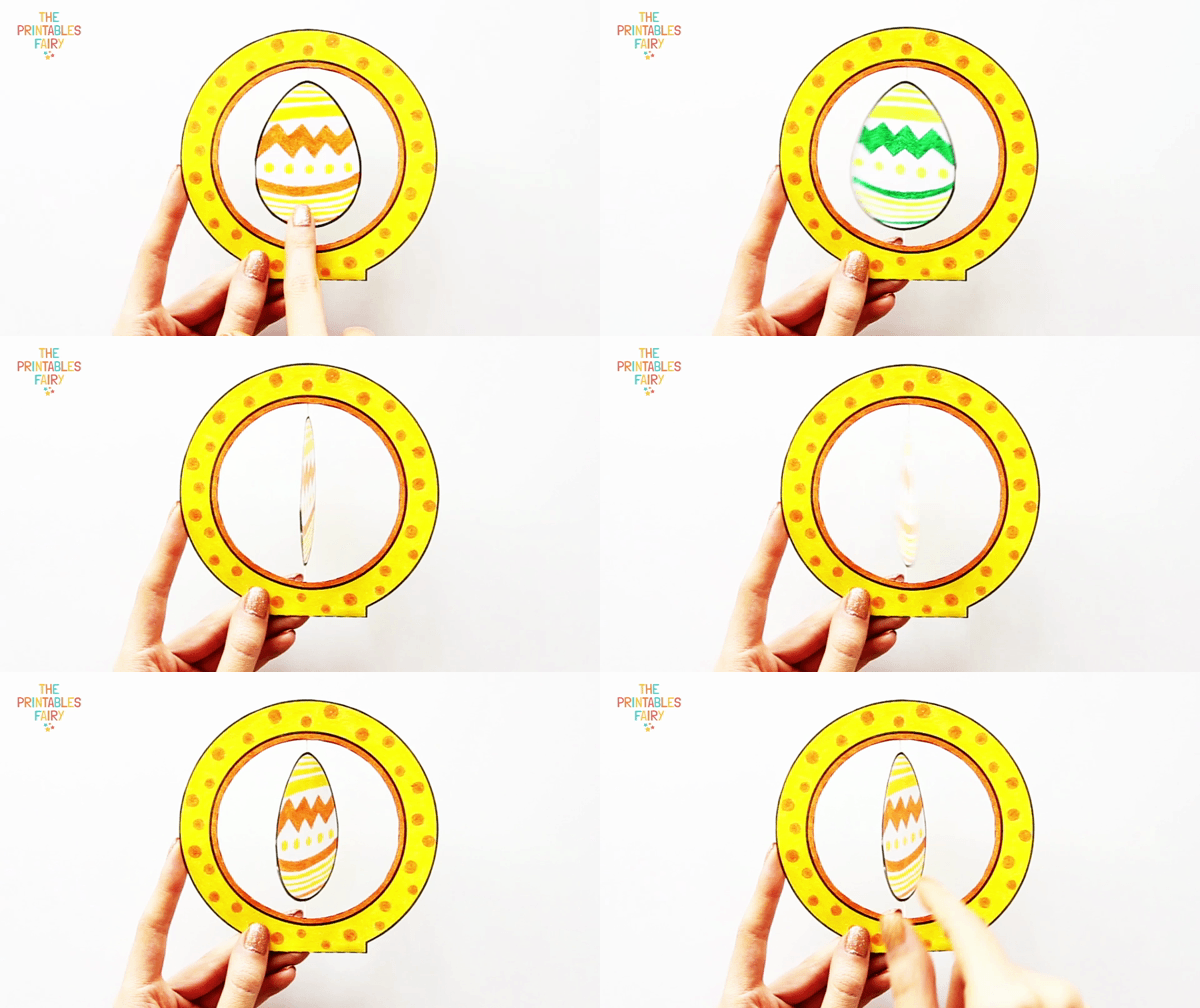
And will also keep them having fun flipping the egg and watching it change colors.
Let me show you how easy it is to put up!
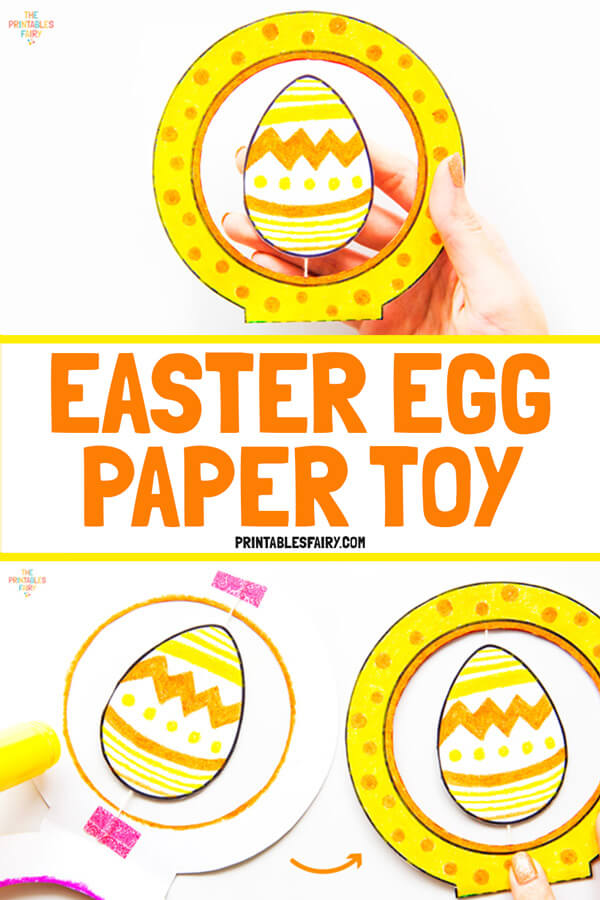
How to Make an Easter Egg Paper Toy
Below, I have listed all the materials required to complete this craft and the step-by-step instructions you should follow.
I also included pictures to guide you and the free printable template to get started with your Easter egg craft.
Materials
To make your Easter egg paper toy, you will need the template that can be downloaded at the end of this post and just a couple of very inexpensive materials that I’m sure you already have at home:
- Easter Egg paper toy template
- White cardstock and printer
- Coloring pencils, crayons, or markers
- Scissors
- Glue
- A thread
- Tape
Instructions
- Download the template at the end of this post and print it on white cardstock.
- Let your kids color and decorate their template however they like. For best results, I recommend coloring each side of the egg differently.
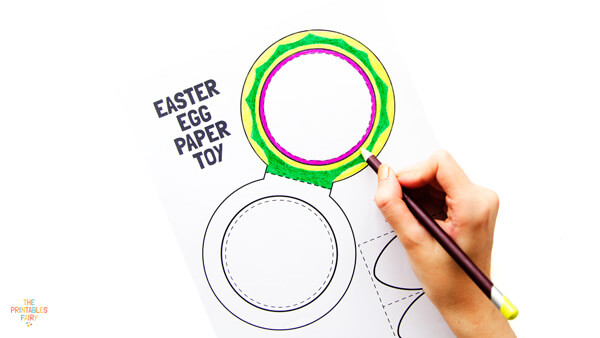
- Cut out the template, as shown below.
If you are working with young kids, help them cut the internal circles of the card piece.
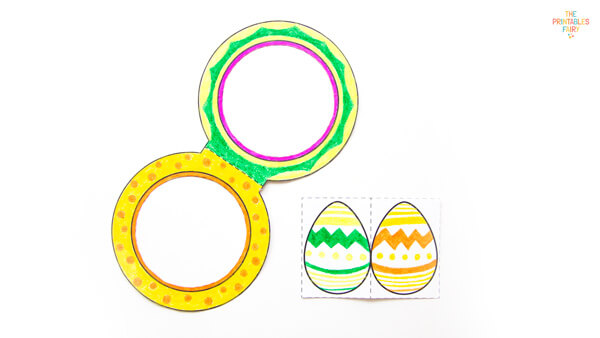
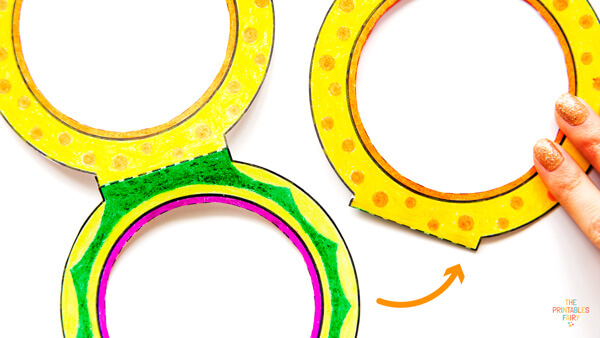
- Take the card and fold it along the dashed line.
- Now, take the egg piece and fold it along the dashed line in the middle.
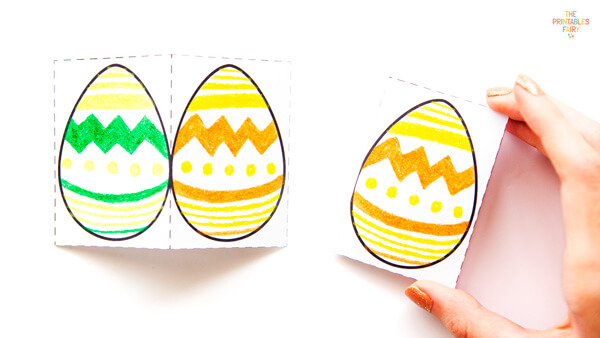
- Cut out your eggs, making sure they are still connected on one side.
Once cut, unfold them.
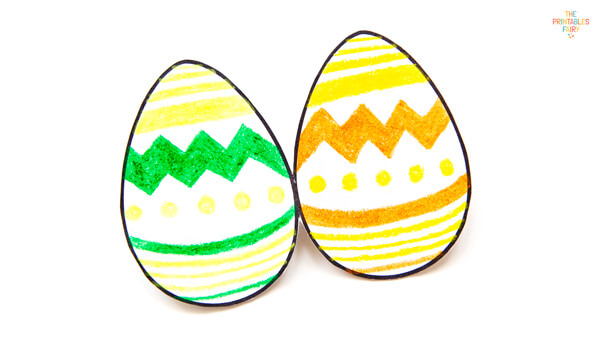
- Apply glue inside the eggs piece.

- Cut a piece of thread of around 4 cm (1.6 in) and glue it between both sides of the egg, like a sandwich.
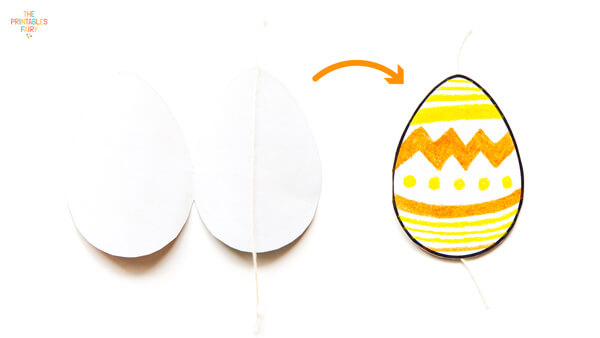
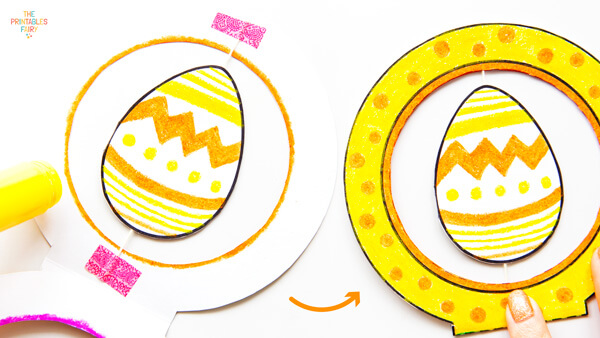
- Open the card piece and place the egg in the middle of the circle. Use tape to secure the thread to it.
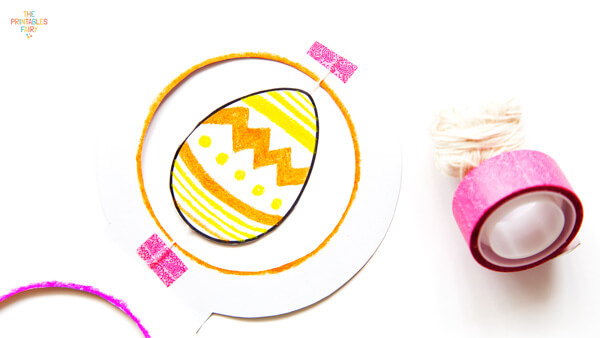
- Glue the card together to cover the tape and complete your craft.
- Use your finger to flip the egg, as shown below.
Easter Egg Paper Toy Template
Doesn’t it look super simple and fun?
Just click the link below and download the template to make your own!
Print as many copies as you need, and don’t forget to select Fit Page on your printer settings for optimal results.
Please remember that this printable is for personal and educational use only.
If you want to share it online, please link to this page and not directly to the printables.
Happy Easter!
GET THE EASTER EGG TOY TEMPLATE
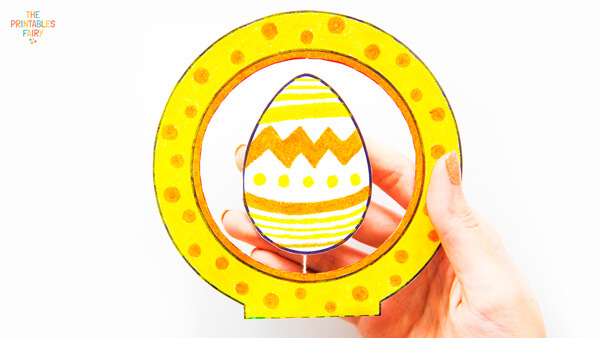
Beautiful and easy craft.