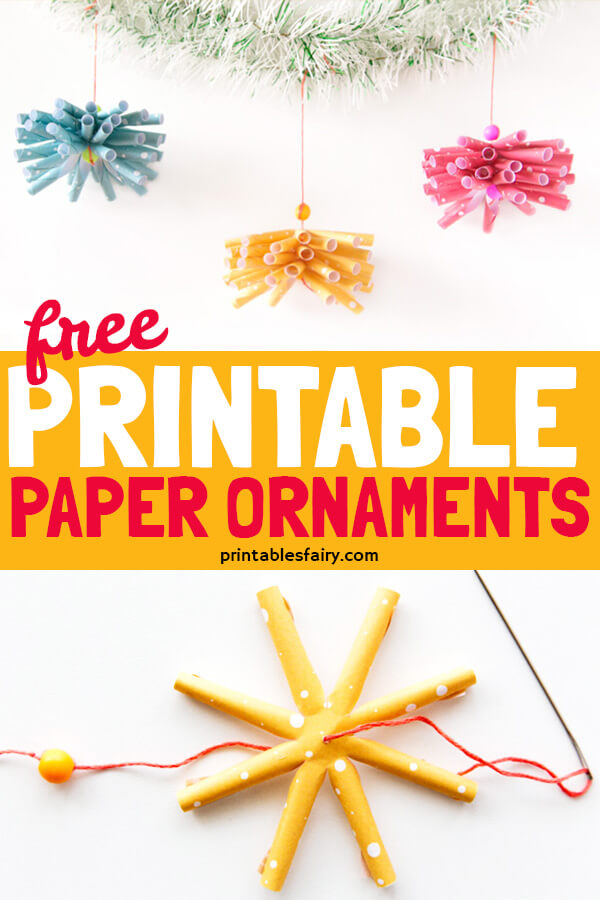
Christmas is the perfect season to start a new crafty tradition.
This time, we decided to go for decorations and created an easy paper ornament for our Christmas tree.
Over the years, we have crafted a new tree ornament every year. It is a fun family activity and definitely a heartwarming keepsake.
If you are on a budget, making paper ornaments is the way to go. Your kids will be happy to start a tradition. And you won’t need to buy any fancy supplies, just what you already have at home!
In this blog post, I’ll show you how to make these colorful Christmas ornaments using 6 paper circles only.
And of course, you can download the free printable templates at the end of the post!
These cute decorations are super easy to make. You don’t need to be an artist or to have any fancy crafting tools. Just follow the simple instructions in the tutorial below.
But before we start, a heads up:
Even though these ornaments are a lot easier than some origami versions out there, I do recommend making this craft with kids that are at least 7.
You could still do it with younger kids, as long as you help them all the way. Or, you can make these fun Gingerbread House Ornaments instead.
So, are you ready to learn how to make these Christmas paper ornaments?
Let’s dive into the tutorial!
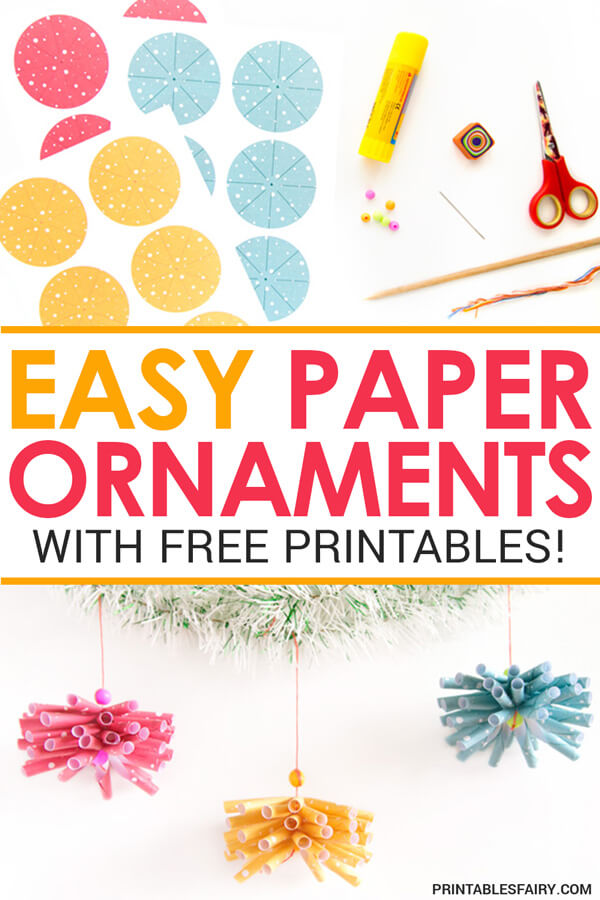
Materials
First things first.
For this project, you will need:
- Christmas Ornament Templates (Download them at the end of this post)
- Printer
- Regular White Paper
- Scissors
- Glue
- Skewer, straw, or pencil
- Needle (I recommend using thick blunt needles when working with kids)
- Eraser
- Colorful threads
- 2 Beads per ornament
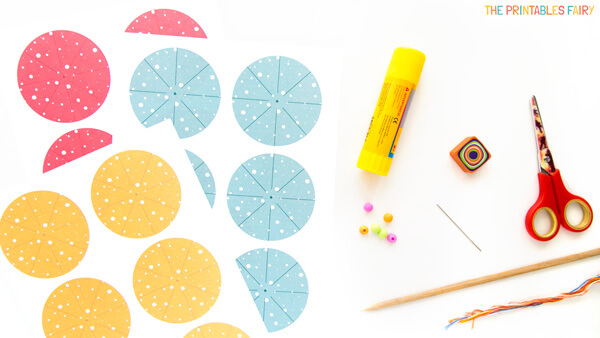
If you don’t want to use our templates, feel free to replicate this same tutorial using your own paper designs. You can use recycled paper from newspapers or books, wrapping paper scraps, or unique scrapbooking paper.
How to Make Paper Ornaments
- Print and cut the ornament template. You’ll have 6 circles with 8 slits each.
If you are making your own circles, make them 3.35 in and divide them into 8 equal sections, like the ones in the picture below.
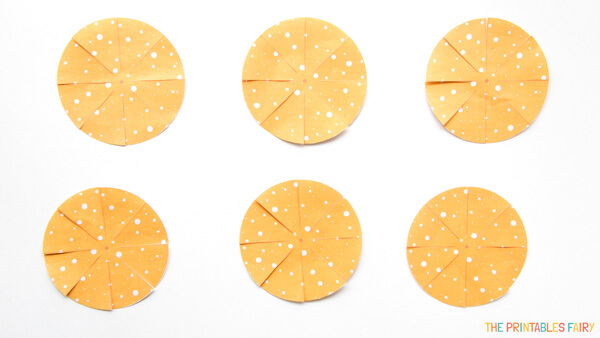
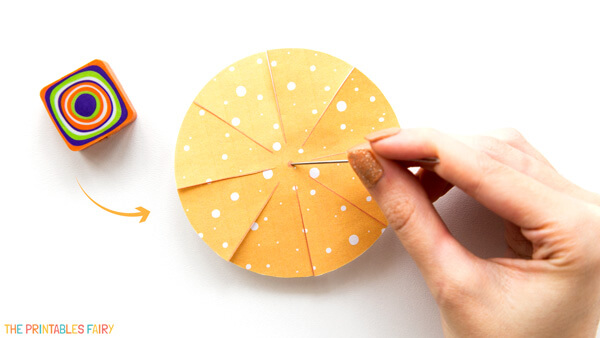
- Put an eraser under one of the circles and punch a hole in the middle with a needle. Repeat with all the circles.
- Take a circle with the color facing down.
Then, using the tip of a skewer, pencil, or straw, roll one of the sections into a small cone and secure it with glue.
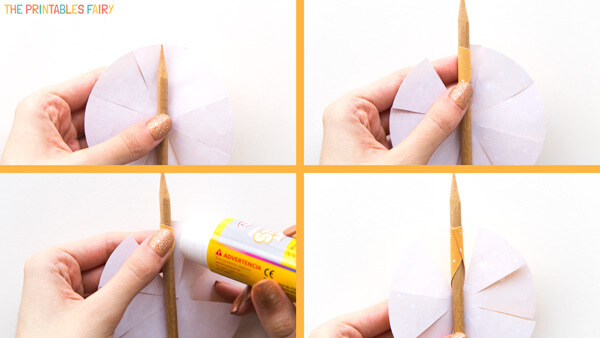
- Repeat this step for each section.

- When you’re done, do the same with the other circles.
If you are making this ornament as a family, let each member do one circle.

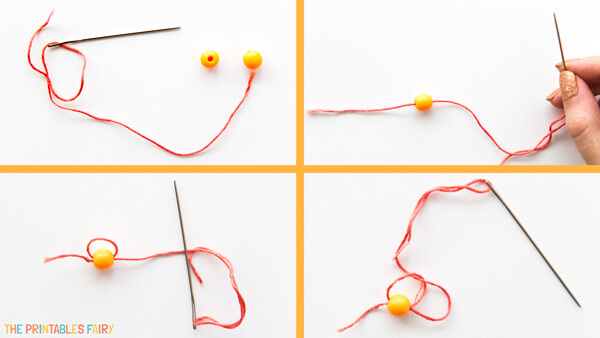
- Thread the needle and tie a bead at the end.
- Pass the needle through the bottom side of one of your pieces.
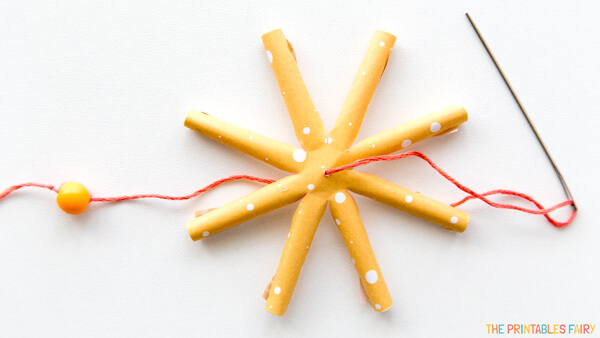
- Then, string the other five pieces the same way.

- Squeeze them, and tie the second bead on top.

You can also make a loop with the remaining thread to make it easier to hang it on your tree.

Easy and cute! Time to make your own!
DIY Paper Christmas Decoration – Video Tutorial
If you prefer to follow the instructions in video format, sit back and enjoy this easy tutorial.
Please subscribe to my YouTube channel for more crafts and activities.
Paper Christmas Ornaments Printable Templates
You can make ornaments of 3 different colors with this template: yellow, red, and blue.
They are in PDF format, and you can print them on A4 regular white paper.
If you are printing on a different size (like US letter), make sure to select “Fit” on your printer settings.
Ready to make your paper ornaments?
Click the link below to download them!
GET THE CHRISTMAS ORNAMENT TEMPLATES
*Please remember that these printables are for personal use only. You may not sell or distribute the files. If you want to share them, please link to this post and not directly to the PDF files.
More Christmas Decorations
