With the sun shining outside, we decided to go on a nature scavenger hunt.
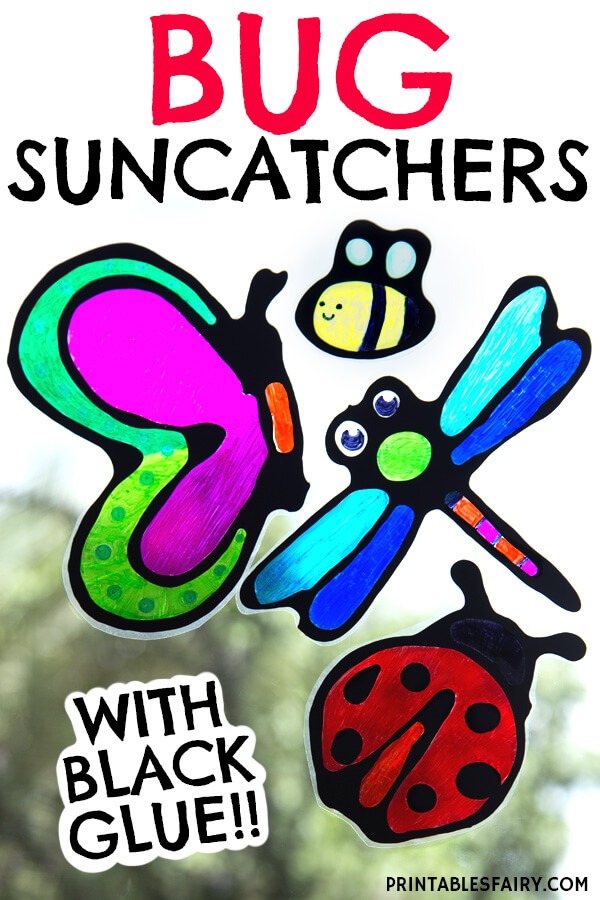
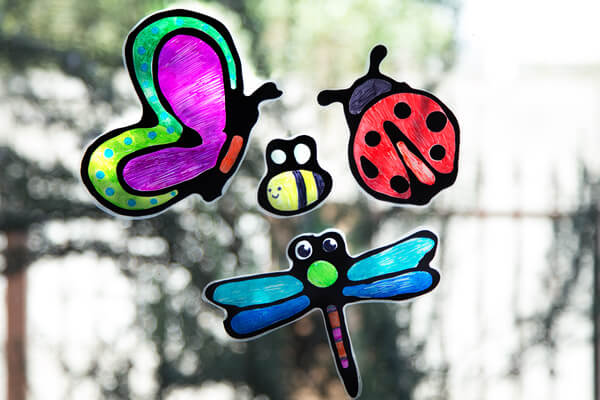
After seeing all the little insects outside, we got inspired to make these bug suncatchers to decorate our windows.
They are super simple to create; the only materials we used were black glue, sharpies, and some plastic recyclables.
So, if you are in search of an easy and fun spring craft, look no further.
This is the perfect activity for kids who love coloring and making their own hanging suncatcher decorations.
You can read the step-by-step instructions or watch the video tutorial right under them to learn how we made these cute crafts.
And don’t forget that you can download our suncatcher templates at the end of this post.
Let’s get started!
Materials Required
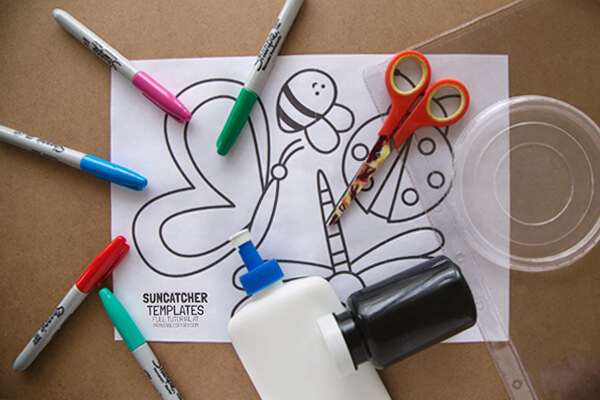
- Regular white glue like Elmer’s glue
- Black acrylic paint
- Container with a nozzle
- Piece of clear plastic
- Sharpie markers
- Scissors
How To Make Black Glue
We decided to use black glue on this project because it dries into slightly raised lines, making it easier to color inside.
It will also make our suncatcher look like stained glass. How cool!
Nowadays, you can buy black glue in the craft store, but if you decide to make your own, it’s very simple.
All you need to do is mix equal parts of black acrylic paint and white glue into a container with some sort of nozzle.
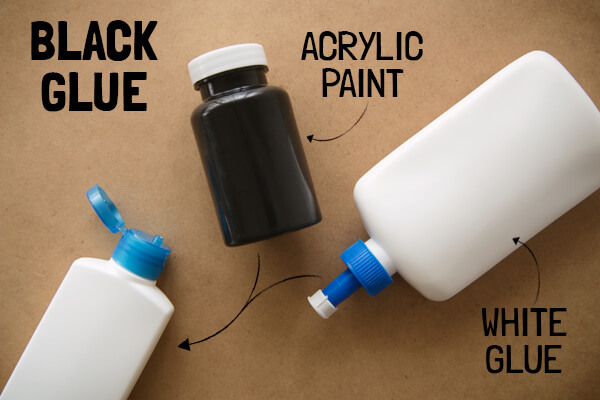
We used an empty bottle of lotion, but you can use the bottle that the glue comes in.
Just pour the excess glue into an empty glass container and store it for another project.
Shake your bottle very well, or stir it up with a skewer until it’s completely mixed.
To make sure it’s integrated, try it onto a piece of paper.
Voila, you just made black glue!
And just to clarify, this glue will forever be black. Only make the amount you are planning to use
How To Make Suncatchers With Black Glue
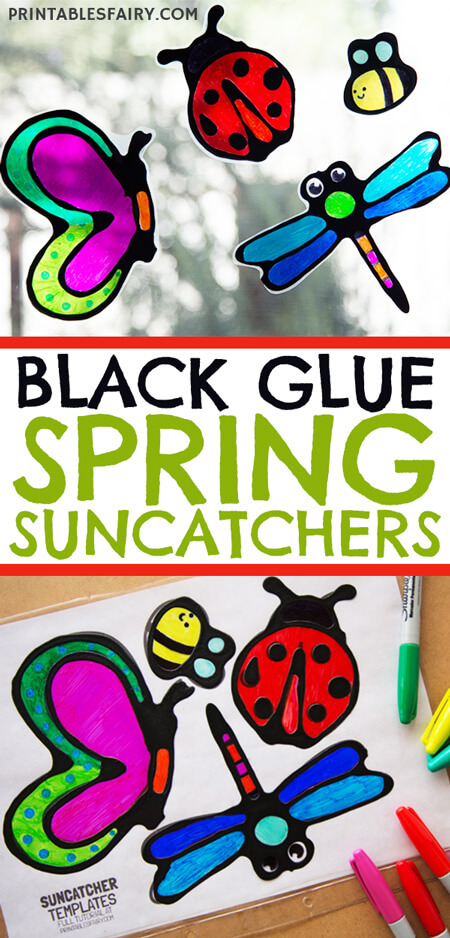
To make the suncatchers, draw your design on a sheet of paper or download and print the bug templates.
I included the outlines of a bee, a butterfly, a ladybug, and a dragonfly.
You can get them all at the end of this post.
Place a piece of transparent plastic on top of your silhouettes. We used old sheet protectors, but you can use plastic lids, laminating pouches, plastic folders, or plastic containers.
Secure the paper and the plastic together with tape to keep them in place.
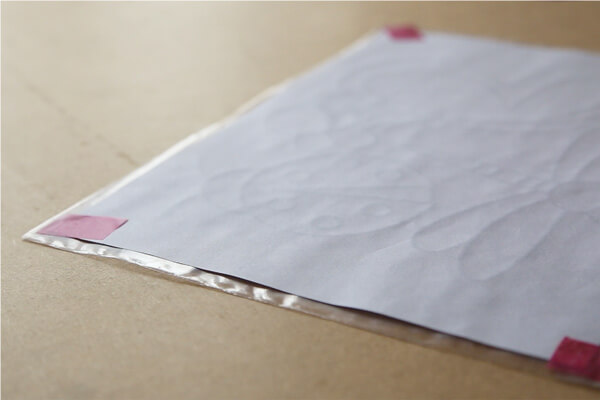
Then, draw the outlines with black glue and let them dry overnight on a flat surface.
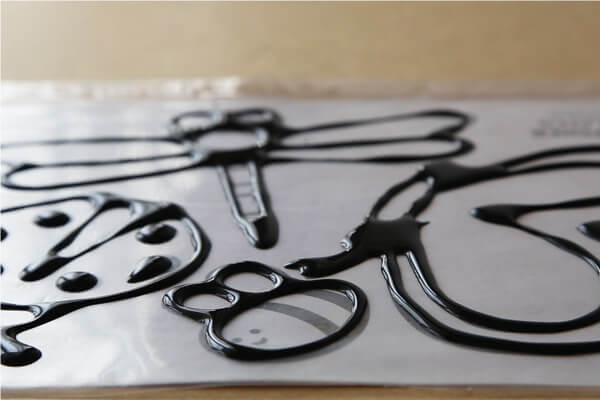
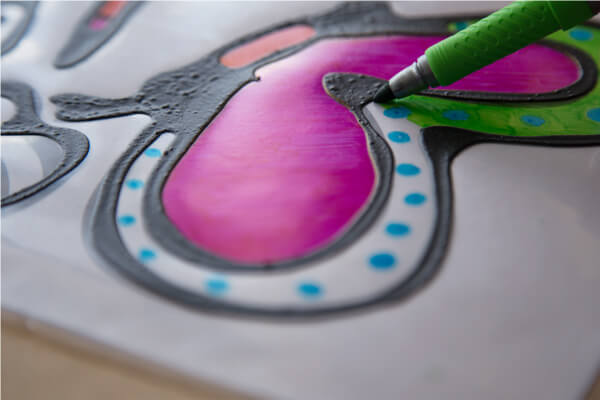
Once dried, it is time for the easiest part, coloring your designs with Sharpies.
Let your kids use as many colors as they want.
After that, cut your suncatchers out.
Make sure you leave some plastic around the borders to prevent the glue from lifting from the plastic.
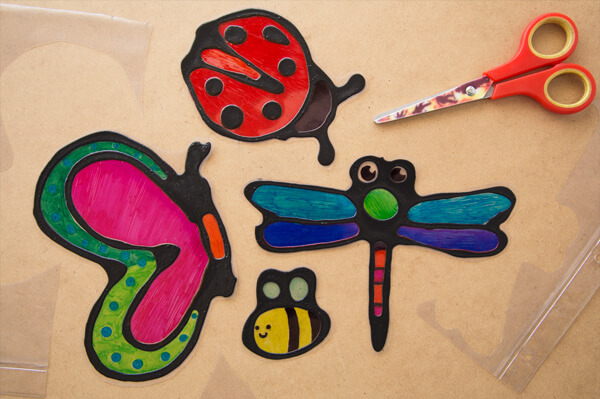
To make them look like real stained glass, flip them over and repaint them. This will make the colors more intense.
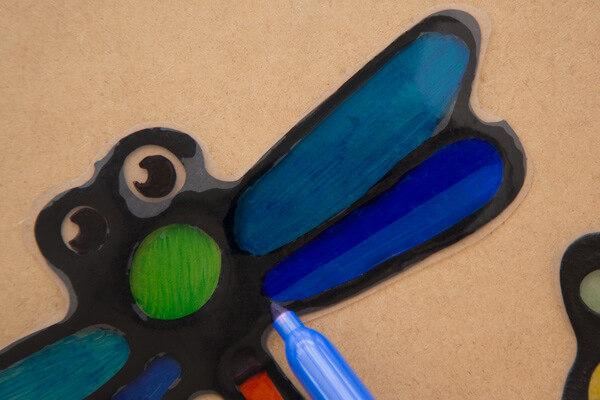
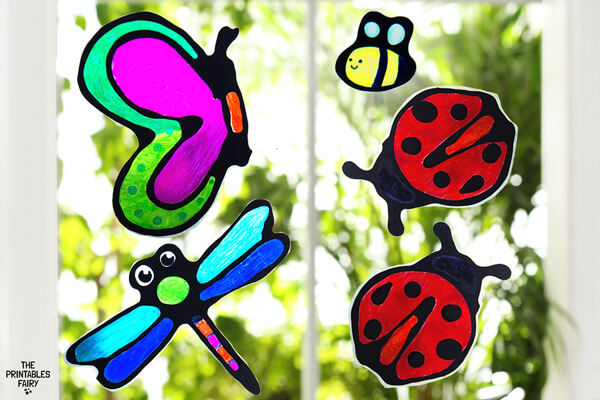
Finally, it’s time to show off your creations!
Hang them on your window with a small suction cup with a hook, or use double-sided tape to stick them to your crystal.
Fun and easy, right?
Now it’s time to make your own!
Bug Suncatchers Video Tutorial
If you are more of a visual learner, take a look at this video tutorial where I make these cute stained glass suncatchers.
Tips to Make These Bugs Suncatchers
- Use the templates as a guide, not as a rule. Try to make your kids follow the outlines, but don’t pressure them to do so. It’s ok to make “mistakes” because you’ll end up with a unique suncatcher.
- Feel free to add additional swirls, polka dots, and patterns with your black glue. Let your creative side come out!
- If you have younger children, help them with the black glue part. Just leave the Sharpie decorations up to them.
Bug Suncatcher Template
Remember that this craft is all about having fun.
The most important part is that you will end up with some one-of-a-kind suncatchers to display on your windows.
Don’t hesitate and make your own bugs with your kids!
Download the bugs templates by clicking the link below.
GET THE BUG SUNCATCHER TEMPLATES
*Please remember that these printables are for personal use only. You may not sell or distribute the files. If you want to share them, please link to this post and not directly to the PDF files.
More Bug Crafts

This was THE cutest idea. My little girls loved it and so did I. I made the mistake of not being careful and we got glue on the carpet. No worries though thanks to our carpet cleaners. Thanks again for this cute idea. It gave me great bonding time with my girls (: