After getting some requests from my readers to create a Ramadan craft, I came out with the idea of making these easy paper lanterns.
They are perfect for kids who want to help decorate their homes during these festivities.
And if you are not Muslim, you can use them as a starting point to learn about different cultures and celebrations around the world. This guide can help you explain Ramadan to your kids very easily.
These lanterns are also a great project for kids who are improving their fine motor skills, as cutting, folding, and gluing are required.
And you’ll only need very few materials that you may already have at home!
To make this craft even easier, I designed a 4-page set of paper lantern templates that you can get for free at the bottom of this post.
There are 3 different color combinations and a blank template for your kids to make their own designs. Think about stars, the crescent moon, geometric patterns, and so on.
Ready to make your own paper lanterns and start exploring new cultures?
Let’s get started!
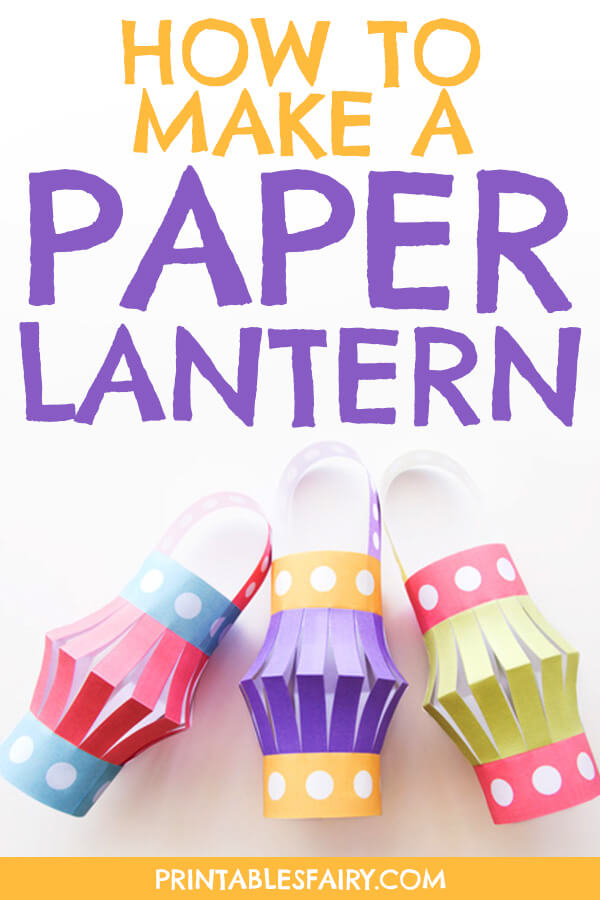
How to Make a Paper Lantern
This craft can look a little complex, but it is pretty easy for kids aged preschool and up, trust me.
Below, I’m going to teach you how to assemble a paper lantern.
You can find written instructions with pictures and also a video tutorial where you can see how simple it is.
Once your kids understand the process, let them explore with different measurements and sizes to create other paper lanterns.
Materials
- Paper Lantern Template (Download it at the end of this post)
- Printer
- White paper or cardstock
- Scissors
- Glue
Instructions
- Print the paper lantern templates on white paper or cardstock.
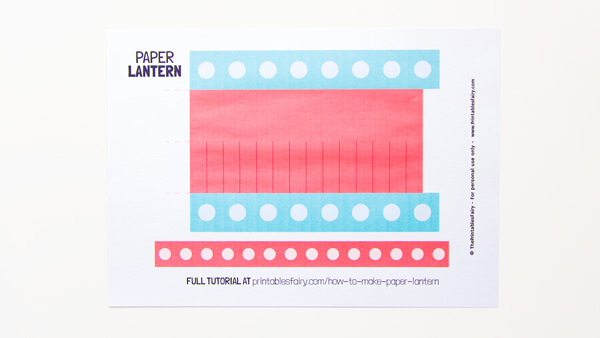
- If you are using the blank template, now it’s time to let your kids decorate it as they want. You can use coloring pencils, markers, paint, or/and stickers to create your own designs.
- Once you finish decorating your lanterns, it’s time to fold the template along the dotted lines, as shown below.
Crease firmly and unfold the template. This will help your paper lantern hold its shape once assembled.
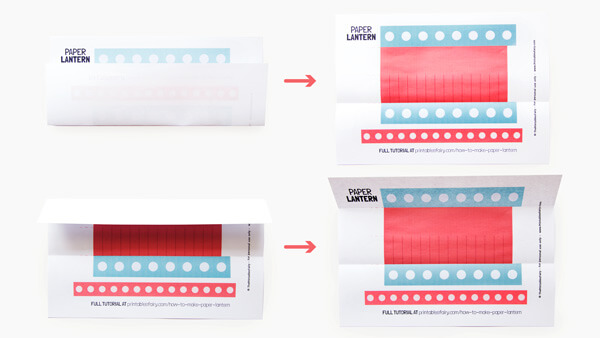
- Fold the template outwards along the line in the middle, crease well, and unfold.
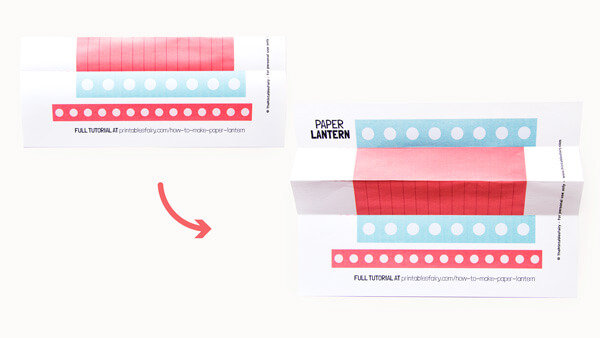
- Cut out the paper lantern and the handle.
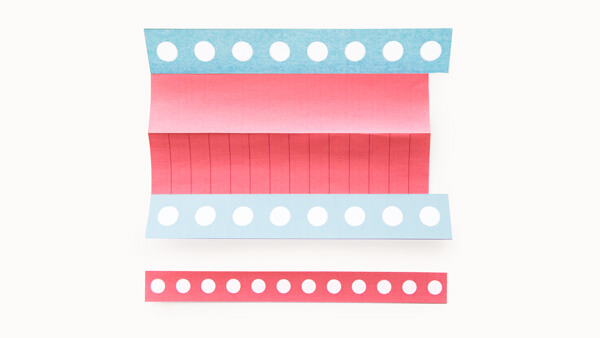
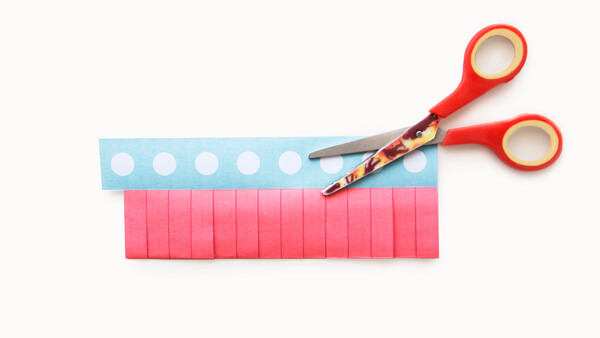
- Fold the paper lantern in half and cut along the vertical lines.
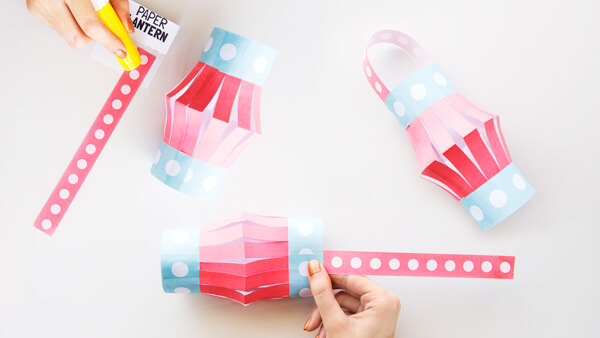
- Put glue on the tabs, fold your lantern into a circular shape, and stick the edges together.

- Finally, glue the handle on the paper lantern and let it dry.
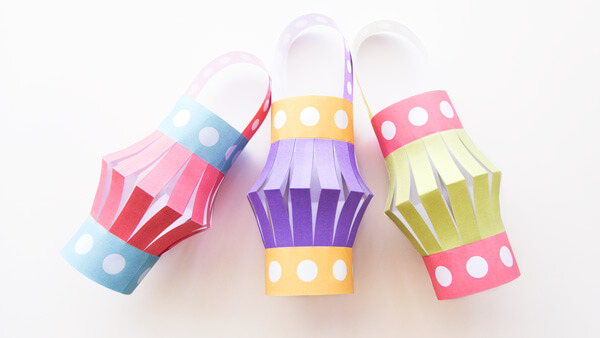
Your paper lantern is completed and ready to decorate your home!

You can use multiple lanterns to make a garland and hang it from the ceiling.
Or, use them as centerpiece decorations with LED candles inside.
Paper Lantern Video Tutorial
If you learn better through video, watch this tutorial.
Here I show you the step-by-step process I followed to make a paper lantern.
Paper Lantern Printable Template
I created these printable templates with folding and cutting guides to make crafting your paper lantern easier.
I included 3 different color combinations: red-green, blue-red, yellow-purple, and one blank template that you can use to create your own designs.
Print as many copies as you need to decorate your home, and don’t forget to share your creations with us on Instagram by tagging @theprintablesfairy.
Let’s start making paper lanterns!
Click the link below to get the templates.
GET YOUR PAPER LANTERN TEMPLATES
*Please remember that these printables are for personal use only. You may not sell or distribute the files. If you want to share them, please link to this post and not directly to the PDF files.
More Ramadan Ideas For Kids

Hello, I am trying to download and print your paper lantern but am unable to. Could you please help. I have made them in the past with students and love it!
Thank you!
Susan
Hi Susan! Thanks for reaching out. To download the files, please scroll to the last section of the post (right under the video) and click on the red link that says GET YOUR PAPER LANTERN TEMPLATES.